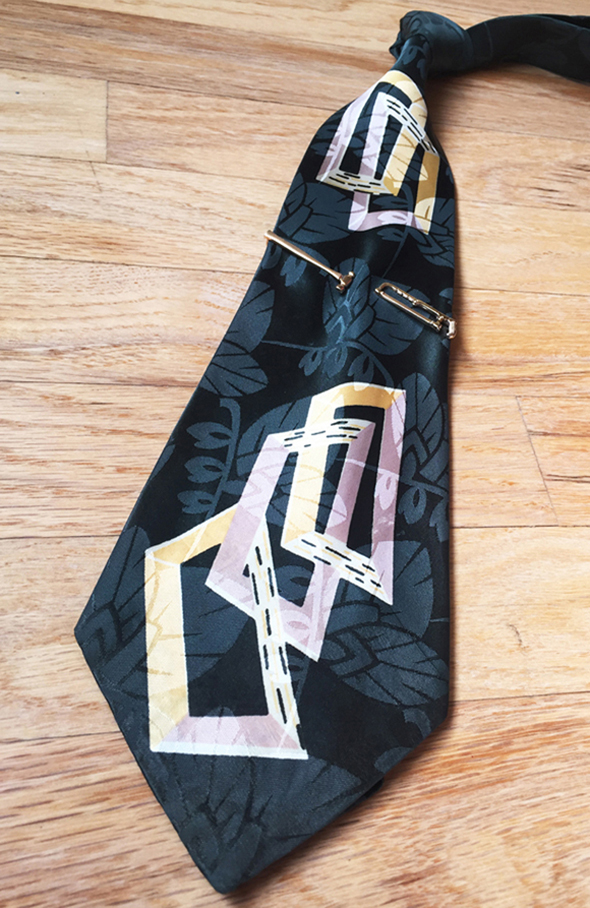
I ADORE vintage 1940's-50’s wide neckties and have amassed quite a few over the years, but I’ve also collected lots of incredible vintage tie clips from the same period. I love the different themes and clever designs…the kitchier, the better!
Unfortunately, though, I’d never found a good way to display them all, so I ended up keeping them in this crude cardboard box. How barbaric! I had to dig around forever to find the perfect tie clips to wear with my favorite vintage neckties. There HAD to be a better way!
I found this vintage tweed suitcase while I was out on tour (yes, I collect vintage suitcases, too—stop the madness!). The outside looked great, but the inside fabric was trashed, so I decided to pull out the lining and use the shell to create a display case for my tie clip collection. The goal was to turn the suitcase on it’s side and be able to view all the clips so I could choose the perfect one to wear after I had knotted up my tie.
Next, I built this wooden frame with hinged panels to be inserted into the suitcase shell. This took a looooong time to figure out, because while I try to look pretty, I’m not the brightest bulb when it comes to construction. There wasn’t an established central post for the panel hinges to swing from, so the challenge was to mount both ends of the hinges onto the panels themselves so that each panel could be supported and piggyback off of the one behind it.
I found some great velvety chocolate brown fabric that I thought would complement the mostly brass color of the tie clips. Then I measured and cut all the fabric pieces to cover the panels and “clip strips™” (trademark pending—don’t try to steal it).
“Clip strips™” glued and ready!
Here’s what one of the upholstered panels looked like, with strips in place.
With all of the panels covered, it was now time to install the frame into the case. This is where all the measuring paid off :)
Last minute lining of the suitcase hinge and heavy duty velcro straps installed to hold the heavy wooden frame inside.
With the frame in place and velcro straps fastened to the sides, you can see now that the design concept was not to have the panels stacked up inside the deeper part of the suitcase, but rather, to extend them outside of the case so I could easily flip through them and see the assorted clips on both sides. To keep the panels from falling forward because of their weight, the wooden frame inside the case needed to be heavy enough to act as a base.
Covered flat panels were also installed inside the front lip of the suitcase and on top of the frame in the back to maximize the display area.
With the case ready for stocking, I decided to clean all the tie clips before I displayed them. I used ketchup (except on pieces that included leather or paint): brushed it onto the clips, worked it in with a soft toothbrush, let them sit for 30 minutes, rinsed three times in a bowl of hot water, allowed them to air dry and then polished them lightly with a clean cloth. The acid in the ketchup supposedly cleans decades of old tarnish and deposits off of the brass metal pieces (or so I’m told by the Internet gods). The clips did look a lot better after they were cleaned! Thanks Al Gore!
WOW! You could eat off of those tie clips!
Commence to stocking!
And now, the finished product…
Mission accomplished! I can see every clip in the bunch by simply thumbing through the panels. It still takes a minute or two if I’m trying to locate a particular clip, but it’s a night and day difference from the impossible digging I was tasked with doing before. Plus, I’m able to enjoy my collection so much more now!
Here are many more pics of my vintage tie clip collection as displayed in the new case.
I hope you dug this post!


